Final Project
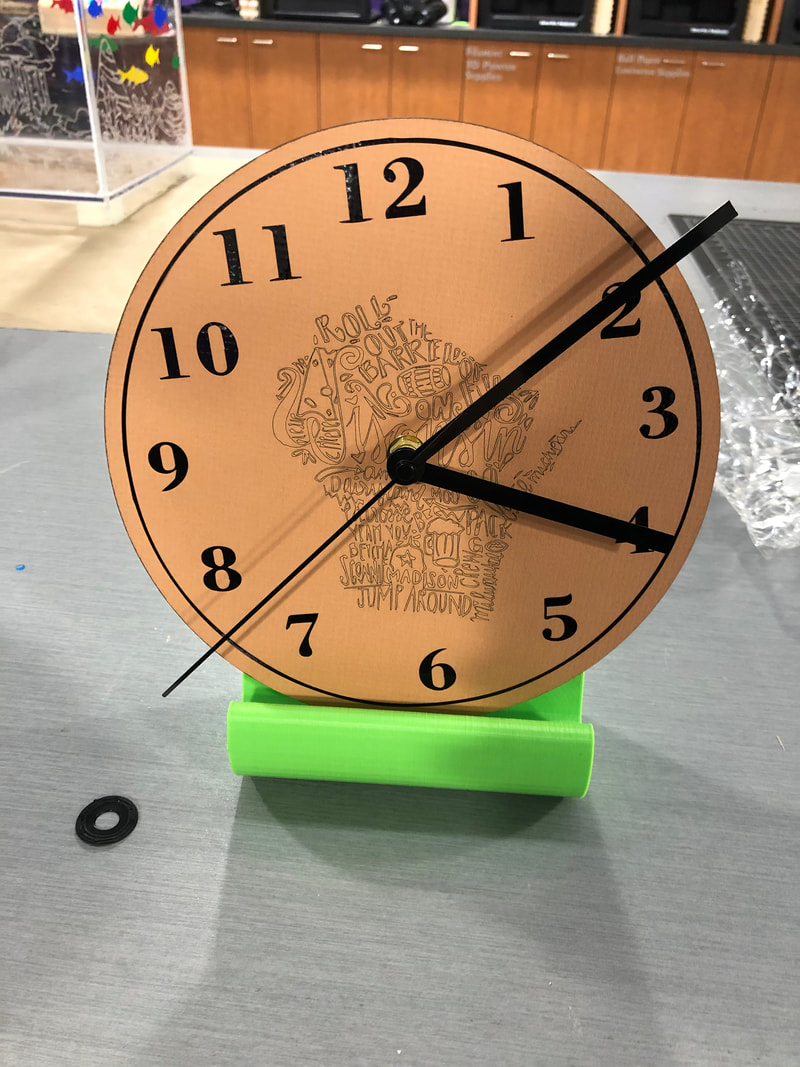
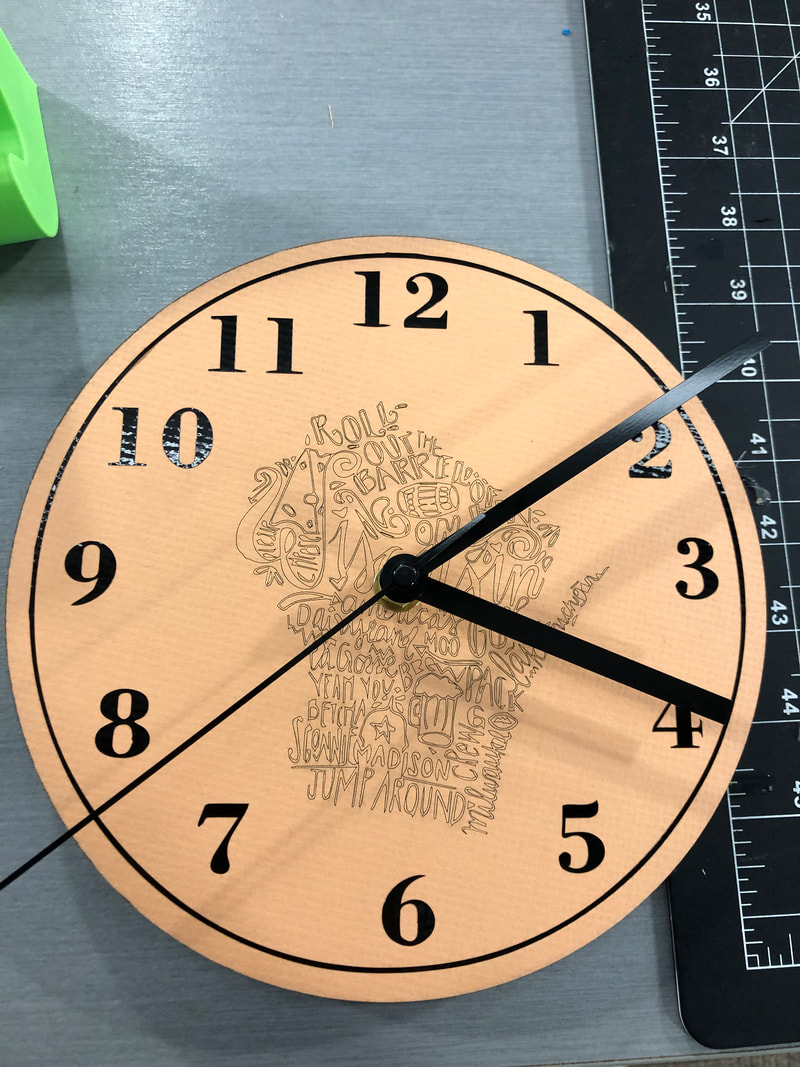
I started very late on this project. I feel like it turned out very good tho. I wanted to make a clock that was very simple and yet had something to do with Wisconsin. In the end I made a circle clock and a Wisconsin logo in the middle.
3D Print
First Step:
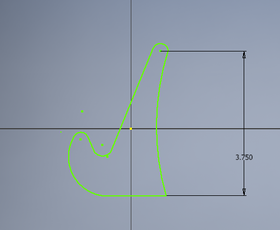
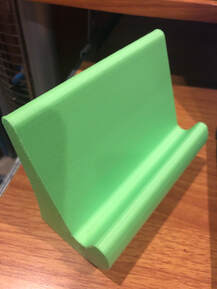
Draw a shape that you think would hold your clock. I made it looking cool. Then I scaled the height so that it will fit your clock.
Draw a shape that you think would hold your clock. I made it looking cool. Then I scaled the height so that it will fit your clock.

Step 2:
I extruded the shape out 4.5 inches. I made it big so it could hold the top heavy clock.
I extruded the shape out 4.5 inches. I made it big so it could hold the top heavy clock.
Step 3:
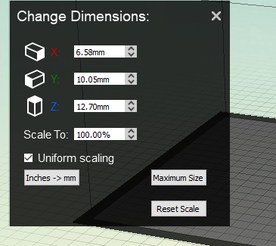
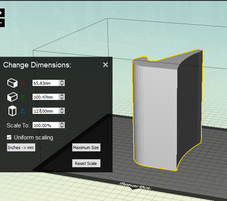
Load your shape into maker bot. This will alter your size, so scale it to 1000%
Load your shape into maker bot. This will alter your size, so scale it to 1000%
Step 4:
Make sure that the shape fits in the 3D printer and that there are no over hangs.
Make sure that the shape fits in the 3D printer and that there are no over hangs.
Step 5:
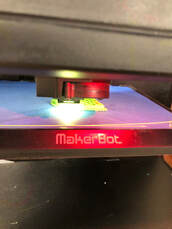
Load it into the printer and watch your shape come to life. |
|
Vinyl Cutter
Step One:
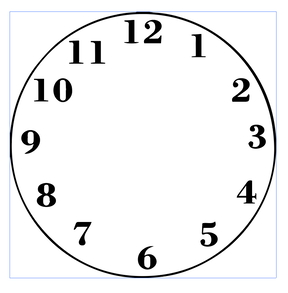
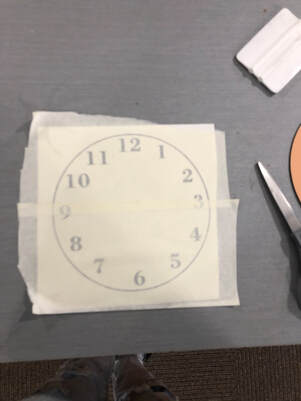
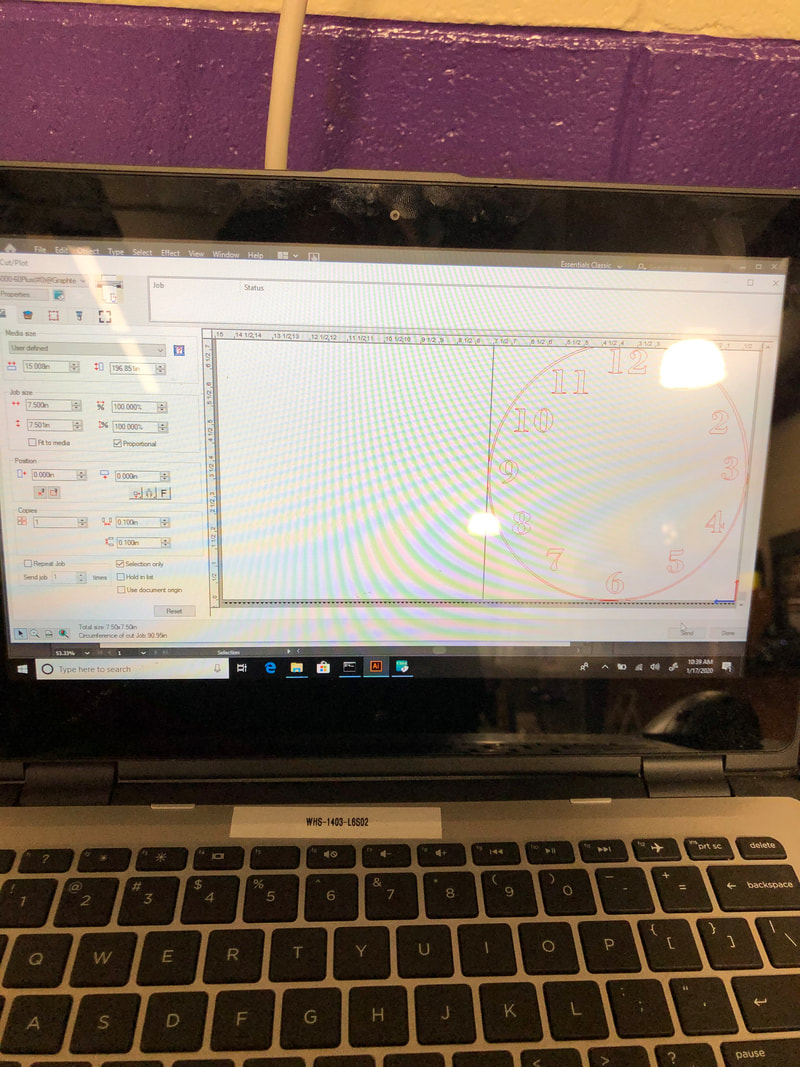
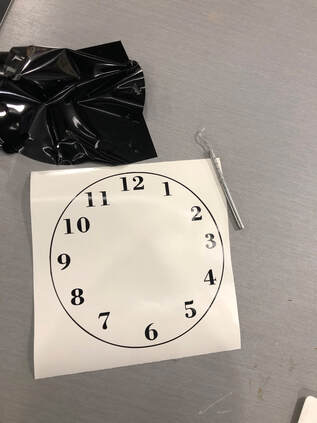
Find a clock face that you like and is not to extra. Make the picture of the clock face into a vector image.
Find a clock face that you like and is not to extra. Make the picture of the clock face into a vector image.
Step Two:
Make the outline of the color red and the line .0001 inches. Then make the fill color the one that does not have any colors.
Make the outline of the color red and the line .0001 inches. Then make the fill color the one that does not have any colors.
|
|
|
Laser Cutter
Step One:
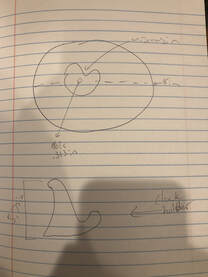
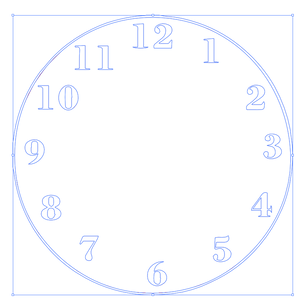
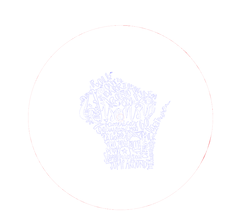
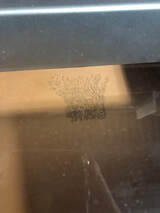
Its hard to see but I made a circle(outlined in red, .0001 inches) and a Wisconsin logo(outlined in blue).
Its hard to see but I made a circle(outlined in red, .0001 inches) and a Wisconsin logo(outlined in blue).
Step Two:
Load it up to the laser cutter and then find the material that you would like to cut. And then watch it do it's thing.
Load it up to the laser cutter and then find the material that you would like to cut. And then watch it do it's thing.
Conclusion
|
I have learned a lot using ALL 3 of these machines. I learned that you can take many different materials and in the end make them into something great. It will take time but it will work out.
|
|
